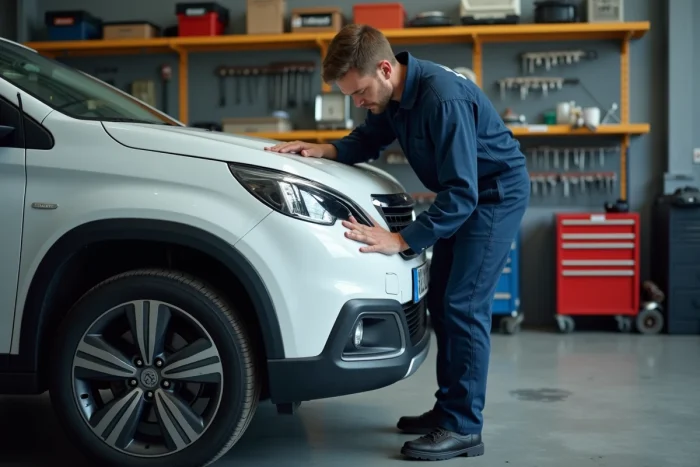
On a Peugeot 2008, removing a front headlight seems simple on paper. Two or three screws, an electrical connector, and the optical unit should come out. The reality of the engine compartment tells a different story, especially if your model runs on the plug-in hybrid version e-2008.
Access varies depending on the engine type, production year, and side of the vehicle. The left headlight, on the driver’s side, presents specific constraints that most tutorials do not cover. Here is a guide that takes these variations into account.
Related reading : How to Effectively Manage Your Tax Declaration After Becoming Widowed: Steps and Practical Tips
Peugeot e-2008 hybrid headlight: the battery pack that changes everything on the driver’s side
Are you driving an e-2008 or a plug-in hybrid version? The removal of the left headlight does not follow the same logic as on a gasoline or diesel engine. The high-voltage battery pack, located under the hood on the driver’s side, significantly reduces the working space.
Specifically, the high-voltage wiring runs along the area where the left optical unit’s fasteners are located. Before any intervention, turn off the ignition and wait several minutes. Never touch the orange cables, which indicate the high-voltage circuit.
Further reading : Essential Tips to Maintain and Extend the Life of Your Clio 3 Phase 2
To improve accessibility, first remove the air duct located above the headlight. On thermal versions, this duct unclips in a few seconds. On the e-2008, you may need to remove an additional support secured by two Torx T20 screws. Keep a Torx screwdriver handy, as standard cross-head screws are not suitable here.
If you want to delve deeper into the procedure according to your engine type, Mon Conseiller Automobile’s advice details the specifics by version.
Dust cover and connectors: the two pitfalls of headlight removal 2008
The CMP platform, shared between the Peugeot 2008 and the Opel Corsa F, does not produce the same constraints from one model to another. According to a technical report published by Auto Plus, the 2008 includes a specific dust cover absent on the Corsa, which extends the intervention time.
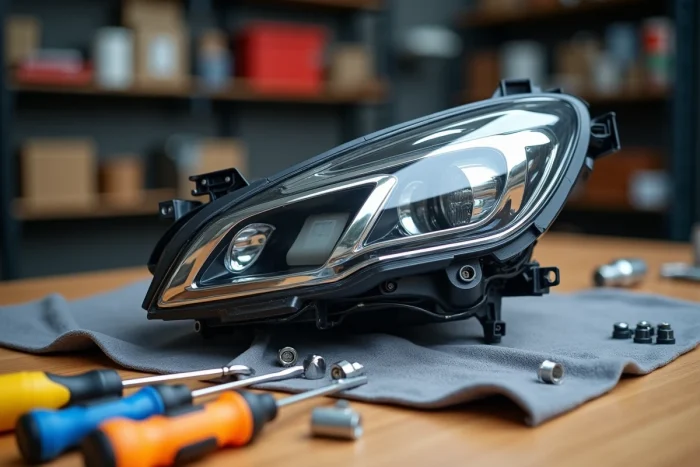
This rubber cover, located at the back of the optical unit, protects the bulb and connector from moisture. It is removed by turning a quarter turn counterclockwise. Forcing or pulling it straight deforms the seal, and a poorly repositioned cover allows water to enter the headlight.
Fused connectors on 2019 models and later
A technical bulletin from Garage Associés France reports an increase in cases of fused electrical connectors on 2019 and newer models, particularly on vehicles exposed to salty moisture (coastal regions, treated winter roads). Before disconnecting the headlight connector, inspect the pins.
If you notice a greenish discoloration or signs of corrosion, clean the connector with a penetrating spray like WD-40 before handling it. Pulling on a corroded connector breaks the pins, and replacing the wiring harness costs much more than a bulb.
Tools and method for removing the optical unit without damage
Before starting, gather the materials. The list is short, but each item counts.
- A Torx T20 and T30 screwdriver, essential for the fasteners of the optical unit and the bumper
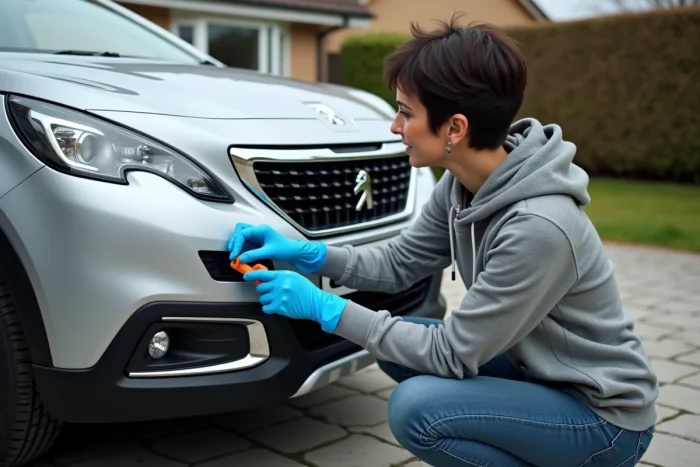
- A pair of nitrile gloves, to avoid leaving grease on the bulb (sebum causes a hot spot that reduces the bulb’s lifespan)
- A penetrating spray like WD-40, useful if the connectors show signs of oxidation
- A headlamp or flashlight, because the back of the headlight is in shadow even in broad daylight
Removing the front headlight, right side
The right headlight offers clearer access, regardless of the engine type. Open the hood, locate the two Torx T30 screws on the upper part of the optical unit. Unscrew them without completely removing them at first: this prevents them from falling into the engine compartment.
Disconnect the electrical connector by pressing the locking tab. Never pull on the cable, only on the connector itself. Then remove the screws and slide the optical unit forward. It is held by a plastic centering tab on the fender side. A slight lateral movement is enough for release.
Removing the front headlight, left side (thermal versions)
On gasoline and diesel engines, the procedure is identical to the right side, with one detail: the coolant reservoir obstructs access. Unclip the reservoir from its support without disconnecting the hoses. Move it a few centimeters away; this is enough to reach the lower Torx screw of the headlight.
LED or halogen bulbs: what changes when reinstalling the headlight
If your Peugeot 2008 is equipped with halogen H7 bulbs, the replacement remains standard. Remove the dust cover, release the retaining clip, take out the used bulb, and insert the new one without touching the glass with your fingers.
Are you considering switching to LED? The European regulation 2025/2789 now regulates the use of replacement LED lamps on approved vehicles. Every LED bulb must bear a compliance marking to be legal on the road. Cheap LED kits without marking risk rejection during technical inspection.
When reinstalling, check the alignment of the light beam. A poorly adjusted headlight after disassembly dazzles oncoming drivers, even with a compliant bulb. If you don’t have a headlight adjuster, drive facing a flat wall a few meters away: the brightest point should remain below the horizontal line of the center of the headlight.
The reassembly follows the reverse order of disassembly. Replace the centering tab before tightening the Torx screws, and reconnect the connector until you hear the locking click. Turn on the lights before closing the hood to confirm that the lighting works in both positions (low and high beam).